Photographing The Ocean
5 Things To Keep In Mind When Photographing The Ocean
Coastlines, the beach, the ocean – they all present travellers and photographers with a huge array of stunning possibilities. But as beautiful as the ocean can be, it can also be quite difficult to capture it properly. Here are a few tips that will get you started with seascape photography:
1. Find an Interesting Foreground
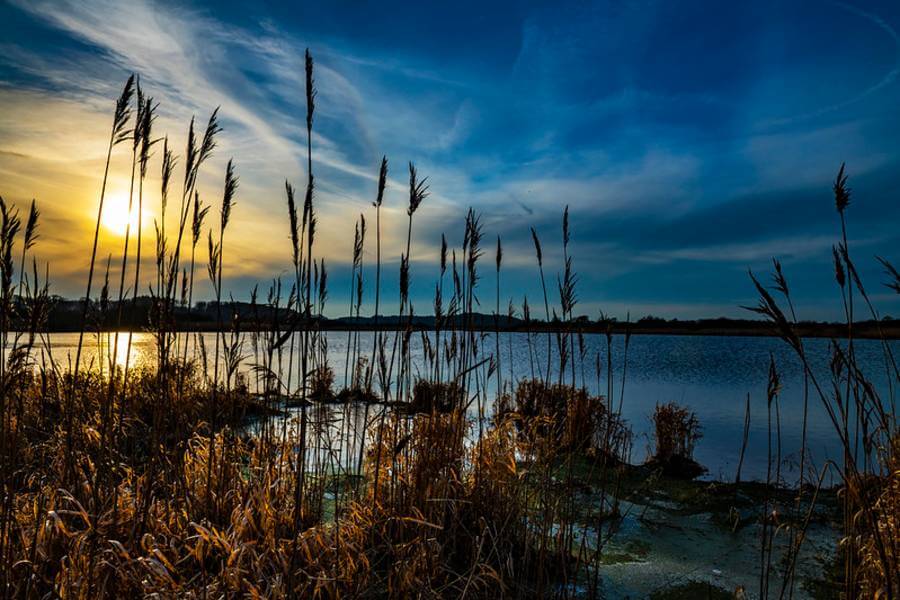
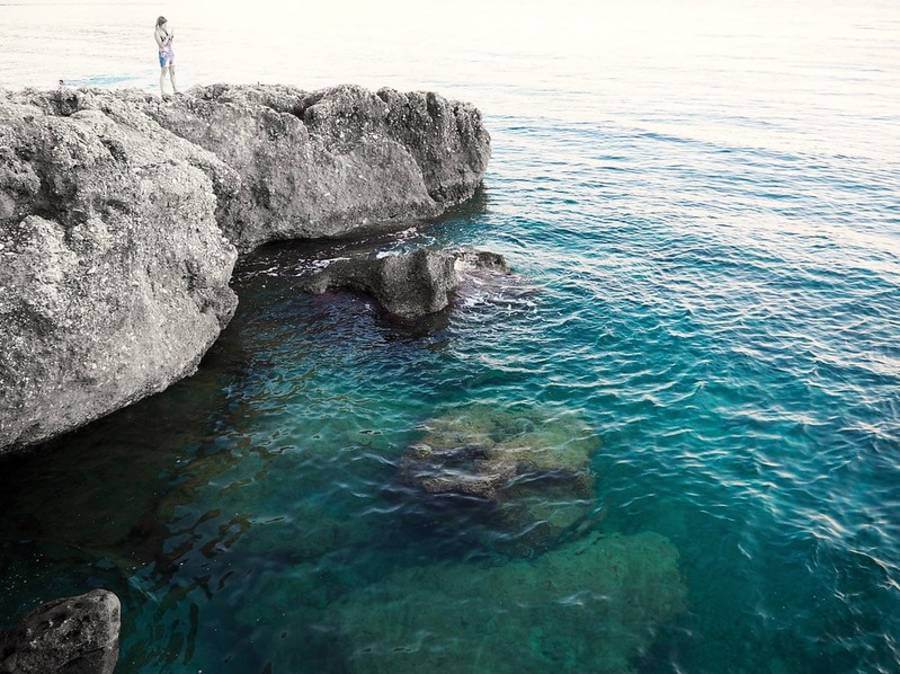
First and foremost, the ocean is one thing: very flat. Apart from maybe some cool cloud formations if you’re lucky, the horizon doesn’t offer much of interest. To give a beach and ocean scene more depth, including an interesting foreground. But don’t just plop a random rock in your image. Instead, just like I mentioned in my article about the rules of composition, find patterns, leading lines and leading the viewer through your image.
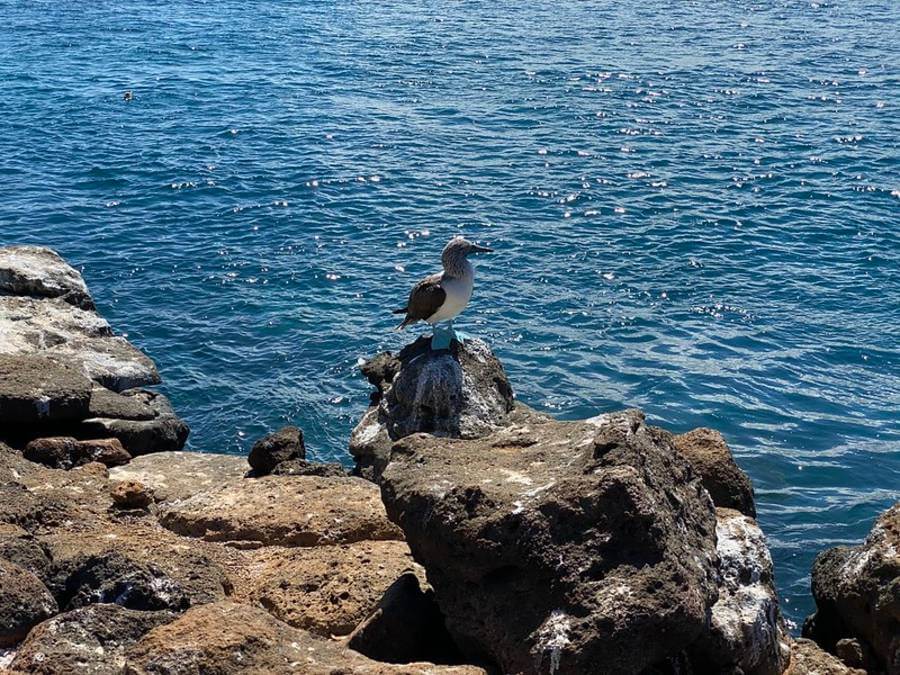
Rocks and boulders work really well for that purpose, as do piers, jetties, cliffs and washed-up tree trunks. Don’t be afraid to get your feet wet, some of the best compositions can be found in the water. In the end, there really is no limit to the things you can do with your imagination and what nature puts in front of you.
Of course, having a point of interest very close to the camera adds the difficulty of trying to get everything in focus. Use focus stacking or a higher f-stop to have a tack sharp image from foreground to background. I wouldn’t shoot anything lower than f/9 and if it is still too light out, I often go up to f/16 to slow down my shutter speed even more and create a smooth, misty look.
2. Use Wide Angle Lenses
You can do some cool stuff with zoom lenses, but when I shoot the ocean, 99% of the time I grab one my wide-angle lenses. Wide angles work especially well when capturing the ocean in combination with one of the aforementioned foreground objects. They exaggerate angles and really let you show the grandeur of the coast.
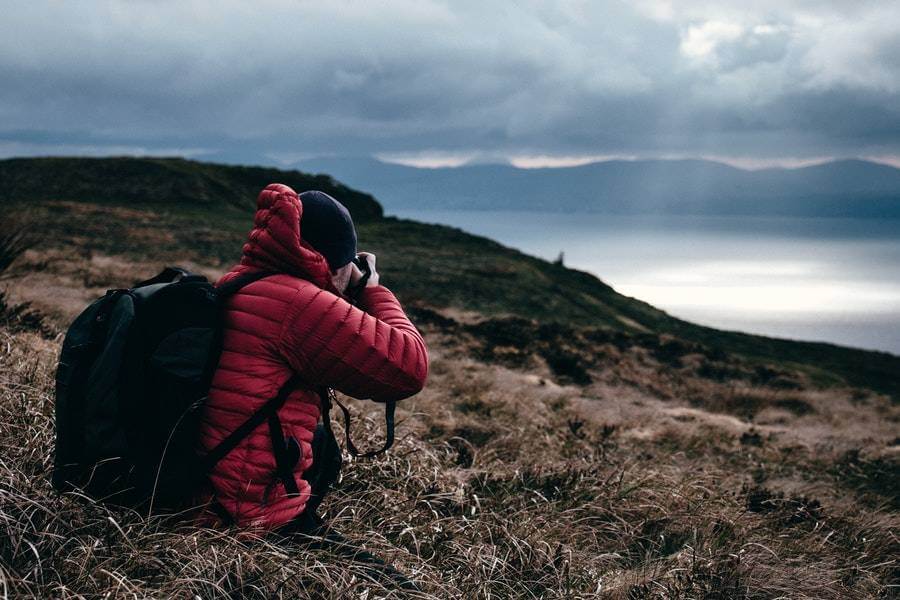
3. Consider the Time of Day
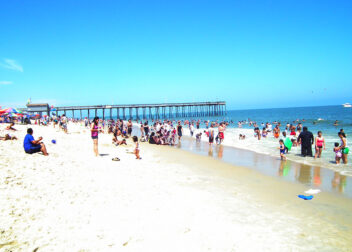
I’ve written a whole article on how important time of day is in photography and I really urge you to check it out. In short, you want to be photograph landscapes, that includes the ocean, during the golden and blue hours around sunrise and sunset. The absence of harsh light and shadows, the beautiful mood, the vibrant colours and the possibility of longer shutter speeds – even without filters – make it the best time for photography. Also, during the day beaches are often crowded, but in the evening, early in the morning or during stormy weather, they are beautifully deserted.
Light is one thing, but also be aware of the tides and the season. Coastlines can change dramatically throughout the day (and year!) and if you have the chance, make sure to scout your location out properly and find out about low and high tide before heading out to shoot.
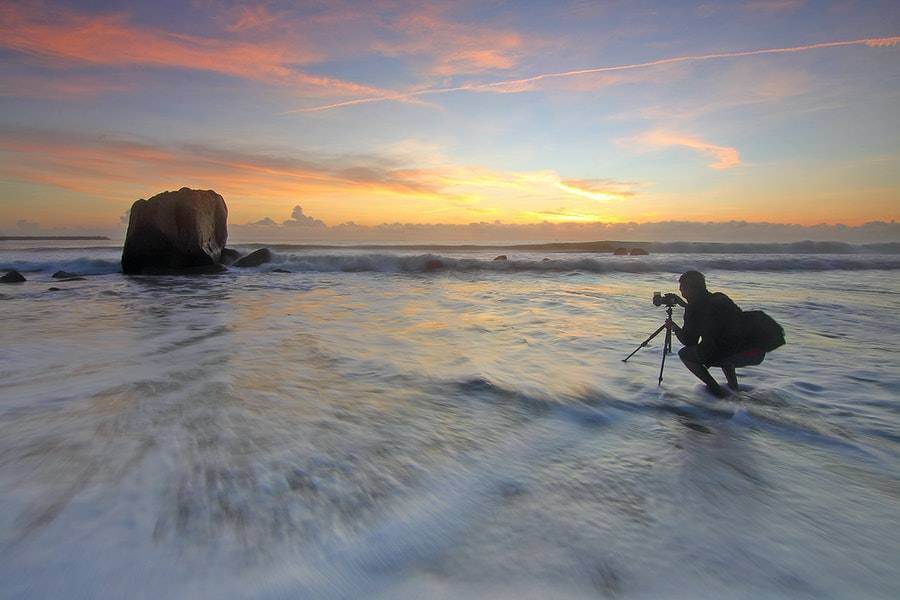
4. Bring Your Filters and a Tripod
My go-to filters for seascape photography are ND Filters and Graduated ND Filters. I suggest you head over to my article about filters to find out what each of them does in-depth and what filters would be best suited for your needs.
I use the Graduated ND Filter for bringing detail and colour back into an overblown sky and I consider it a staple piece of equipment when shooting around sunset and sunrise. To achieve longer exposure times (even ultra-long exposures during the day), use a regular ND filter. My favourite is a simple 3-stop filter, but they go as high as 10-stops and let you create incredible movement in the clouds and turn the crashing waves to mythical mist.
Since you will be working with long shutter speeds, a stable tripod is a must. Make sure to really jam the tripod into the sand and put the camera strap around your neck. After all, you don’t want the inevitable waves to take your camera out.
5. Think About Movement
Do you prefer realistic photos or do you want to create dreamy images that seem to be out of this world?
To freeze waves in mid-roll, a shutter speed of at least 1/50 seconds or higher should do the trick. If you plan to photograph in low light in the golden and blue hours, you’ll have to crank the ISO quite a bit to still freeze the action. This, in turn, will introduce a lot of noise into your image, so keep that in mind when shooting. As always, take some test shots and adjust from there.
If you’re like me and prefer lots of motion blur in the clouds and in the water, your goal is to slow down the shutter speed until you get the desired effect. Keep your ISO at 100, set a higher f-stop to keep everything in focus and slow down the action a bit more (depending on how bright out it still is, anything between f/9 and f/16 will work well) and then get to experimenting with the shutter speed. You’ll start getting a decent blurred effect around 1 second, but you can also take it to the extreme, put a strong 10-stop filter on and try several minutes.
And a few parting words: keep your bag zipped up at all times to avoid sand from lodging itself into every nook and cranny of your equipment, bring lens wipes to clean the salty spray of the water off when needed and most importantly, have fun!